Follow our step-by-step guide on how to put a license plate on your car. From gathering tools to final touches, we’ve got you covered.
Tools Needed
Screwdriver
When it comes to attaching a license plate, having a trusty screwdriver is essential. This tool will allow you to easily remove any existing screws holding the old plate in place and secure the new one firmly. Make sure to choose a screwdriver that fits the screws on your license plate frame to avoid any mishaps during installation.
License Plate Frame
A license plate frame not only adds a touch of personalization to your vehicle but also serves a practical purpose. It helps protect your license plate from damage and keeps it securely in place. When selecting a license plate frame, consider factors such as material, design, and size to ensure it complements your vehicle perfectly.
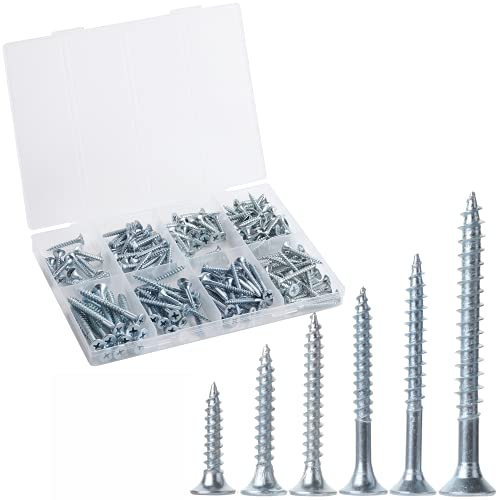
Screws
Screws are the unsung heroes of license plate installation. These small but mighty fasteners are what hold your license plate frame securely in place. It’s important to choose high-quality screws that are rust-resistant and durable to withstand various weather conditions. Make sure to have the right size and type of screws for your license plate frame to avoid any installation issues.
In summary, having the right tools such as a screwdriver, license plate frame, and screws is crucial for a successful license plate installation. These tools will not only make the process easier but also ensure that your license plate is securely attached to your vehicle. Remember, it’s always better to be prepared with the right tools than to struggle with makeshift solutions. So, gather your tools and get ready to give your vehicle a fresh new look with a properly installed license plate.

Preparation
Clean the Area
Before you begin attaching your license plate, it’s important to ensure that the area where you will be working is clean and free of any dirt or debris. A clean surface will not only make the attachment process easier but will also help to ensure a secure fit for your license plate. Take a moment to wipe down the area with a damp cloth or mild cleaning solution to remove any dust or grime that may be present.
Gather All Tools
Next, gather all the tools you will need for attaching your license plate. Refer to the list of tools needed in the reference section to make sure you have everything on hand. It’s important to have all the necessary tools within reach before you start the attachment process to avoid any interruptions or delays. Having everything organized and ready to go will streamline the process and make it much more efficient.
- Screwdriver
- License plate frame
- Screws
By taking the time to clean the area and gather all the necessary tools before you begin, you will set yourself up for a smooth and successful license plate attachment process. So, roll up your sleeves, gather your tools, and get ready to give your vehicle a fresh new look with a securely attached license plate.
Attaching the License Plate
When it comes to attaching your license plate, there are a few key steps to follow to ensure it is done correctly and securely. Let’s walk through the process together.
Align the Plate
The first step in attaching your license plate is to properly align it on your vehicle. This may seem like a simple task, but it is important to make sure the plate is centered and straight for a clean and professional look.

To align the plate:
* Place the license plate on the designated area of your vehicle where it is meant to be attached.
* Use a measuring tape or ruler to ensure the plate is centered both horizontally and vertically.
* Adjust the position as needed until you are satisfied with the alignment.
Secure the Plate
Once the license plate is aligned correctly, it is time to secure it in place. This is where the license plate frame and screws come into play.
To secure the plate:
* Place the license plate frame over the plate, making sure it fits snugly.
* Use the appropriate screws to attach the frame to your vehicle, ensuring they are tightened securely.
* Make sure the frame is flush against the vehicle and there are no gaps where the plate can move around.
Tighten the Screws
The final step in attaching your license plate is to tighten the to ensure the plate is firmly in place. This step is crucial to prevent the plate from coming loose while driving and potentially causing damage or becoming lost.
To tighten the screws:
* Use a screwdriver to securely tighten each screw, making sure they are not over-tightened to avoid damaging the frame or vehicle.
* Check each screw individually to ensure they are all tightened evenly and securely.
* Give the plate a gentle tug to make sure it is securely attached and will not come loose during normal driving conditions.
By following these steps to align, secure, and tighten your license plate, you can ensure it is properly attached to your vehicle and will stay in place for the long haul. Take pride in your work and enjoy the finished look of your newly attached license plate.
Final Touches
Double-check alignment
Before considering your installation complete, it’s crucial to double-check the alignment of your license plate. Even the smallest misalignment can detract from the overall look of your vehicle. Take a step back and visually inspect the plate to ensure it is perfectly centered and level. You can also use a measuring tape to confirm that the plate is positioned correctly within the frame. Remember, attention to detail is key when it comes to achieving a professional and polished finish.
Clean up any mess
Once you’ve confirmed that your license plate is securely attached and properly aligned, it’s time to clean up any mess that may have been left behind during the installation process. Use a damp cloth to wipe away any dirt, dust, or fingerprints that may have accumulated on the surface of the plate or around the edges. This final step will not only enhance the appearance of your license plate but also ensure that it remains in pristine condition for the long haul.
- Take a damp cloth and wipe down the license plate
- Use a gentle cleanser if necessary
- Inspect the surrounding area for any debris or residue
- Dispose of any packaging or leftover materials properly
By following these simple yet essential steps, you can guarantee that your license plate installation is flawless and that your vehicle looks its best. Remember, the devil is in the details, and taking the time to double-check alignment and clean up any mess will set your vehicle apart from the rest.