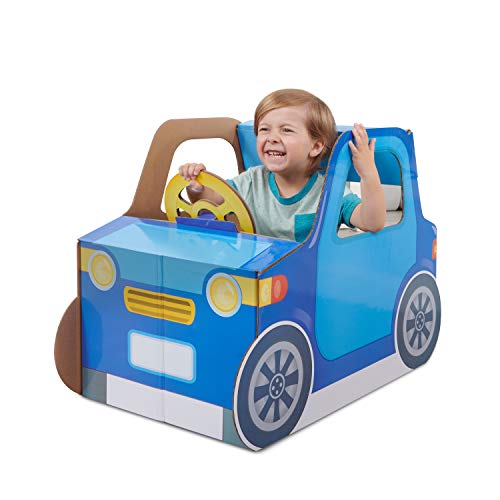
Discover how to make a cardboard car with materials like scissors, tape, and paint. Design, decorate, and your own car at home with this fun DIY project for kids!
Materials Needed
Cardboard
When it comes to building a cardboard car, the first and most essential material you’ll need is, of course, cardboard. This versatile material will serve as the foundation for your project, providing the structure and stability necessary for your car to come to life. Whether you’re using old shipping boxes or leftover packaging, make sure to choose sturdy cardboard that can withstand the weight and pressure of your car.
Scissors
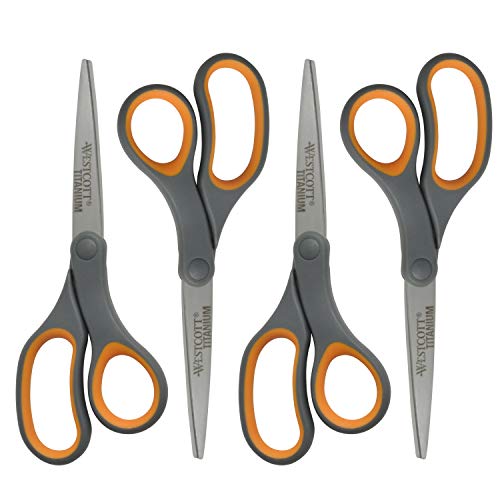
Next on the list of materials needed are a good pair of scissors. These will be your trusty tools for cutting and shaping the cardboard into the desired pieces for your car. Sharp, precise scissors will make the process much easier and more efficient, allowing you to create smooth edges and intricate details with ease. Remember to handle them with care to avoid any accidents during the cutting process.
Tape
Tape is another crucial component for assembling your cardboard car. Whether you opt for duct tape, masking tape, or double-sided tape, make sure to have plenty on hand to secure the different parts of your car together. Tape will act as the glue that holds everything in place, so choose a strong and reliable option that can withstand movement and handling.
Paint
Last but not least, you’ll need paint to add some color and personality to your cardboard car. Acrylic paint works best for cardboard projects, as it adheres well to the surface and dries quickly. Get creative with your color choices and ideas, whether you want a classic red sports car or a whimsical rainbow-colored vehicle. Painting your car is where you can really let your creativity shine, so have fun with it and make your cardboard creation truly unique.

In summary, with cardboard, scissors, tape, and paint in hand, you’re ready to embark on the exciting journey of building and designing your very own cardboard car. Let your imagination run wild as you bring your creation to life, one step at a time.
Designing the Car
When it comes to designing your cardboard car, the first step is to sketch out your design. This is where your creativity can truly shine. Think about the shape and size of the car you want to create. Will it be a sleek sports car or a sturdy off-road vehicle? Will it have unique features like a spoiler or racing stripes?
Sketching the Car
Grab a pencil and some paper and start sketching out your ideas. Don’t worry about making it perfect – this is just a rough draft to help you visualize your design. Think about the proportions and details you want to include. Will it have a sunroof or tinted windows? The possibilities are endless.
Cutting the Cardboard Pieces
Once you have a solid design sketched out, it’s time to start cutting out the cardboard pieces. Use a pair of sharp scissors to carefully cut along the lines of your design. Take your time and make sure each piece is cut accurately to ensure a smooth assembly process later on.
Assembling the Parts
Now comes the fun part – assembling your cardboard car! Start by laying out all the pieces you’ve cut out and organizing them by size and shape. Use tape to secure the pieces together, making sure to reinforce any weak areas for added sturdiness. As you put the parts together, step back and admire your handiwork. You’re one step closer to having your very own cardboard car.
Incorporate your personal touch by adding any extra details you desire, such as headlights, wheels, or even a personalized license plate. Make it unique and make it yours. Remember, the key to a successful design is to have fun and let your creativity flow.
Decorating the Car
When it comes to decorating your cardboard car, the possibilities are endless. This is where you can really let your creativity shine and make your car unique. Let’s dive into some fun ways to decorate your cardboard creation.
Painting the Car
One of the simplest and most effective ways to decorate your cardboard car is by painting it. You can use acrylic paints, spray paints, or even markers to add some color and personality to your car. Consider painting racing stripes, flames, or even a cool design that reflects your personality. Remember to let each layer of paint dry completely before adding another to avoid smudges or smears.
Adding Details (e.g. headlights, wheels)
To take your cardboard car to the next level, consider adding some details like headlights and wheels. You can cut out circles from cardboard and paint them to create realistic-looking wheels. For headlights, you can use colored paper or even small LED lights to add a touch of realism. These small details can make a big difference in the overall look of your car.
Personalizing the Car
Personalizing your cardboard car is where you can really make it your own. Consider adding stickers, decals, or even your name to the car to make it unique to you. You can also add accessories like a spoiler, side mirrors, or even a personalized license plate. The key is to have fun and make your cardboard car a reflection of your personality and style.

Testing the Car
Checking for Sturdiness
Before taking your handmade cardboard car out for a test drive, it’s essential to ensure that it is sturdy enough to withstand the rigors of playtime. Start by carefully inspecting all the joints and connections where the pieces of cardboard come together. Make sure that they are securely taped or glued in place and that there are no loose or wobbly parts. Give the car a gentle shake and press on different areas to test its overall stability. If you notice any weak spots, reinforce them with additional tape or glue to prevent the car from falling apart during use.
Test Driving the Car
Once you are confident in the sturdiness of your cardboard car, it’s time to take it for a test drive. Find a smooth, flat surface where you can safely roll the car without any obstacles in its path. Place the car on the ground and give it a gentle push to see how well it moves. Pay attention to how smoothly it rolls and if there are any areas where it gets stuck or does not move as expected. Experiment with different speeds and angles to get a feel for how the car handles and performs in different situations.
Making Adjustments
After driving your cardboard car, you may find that it requires some adjustments to improve its performance. If the car is veering to one side or not rolling straight, check to make sure that the wheels are aligned correctly and that they are all touching the ground evenly. You can make small tweaks to the wheel placement or add additional support underneath the car to help it roll more smoothly. If the car feels too flimsy or unstable, consider adding more layers of cardboard or reinforcing certain areas with extra tape for added strength.
- Ensure all joints are securely taped or glued
- Check for any loose or wobbly parts
- Reinforce weak spots with additional tape or glue
- Test the car on a smooth, flat surface
- Pay attention to how smoothly it rolls
- Make adjustments to improve performance
- Experiment with different speeds and angles
By thoroughly checking for sturdiness, test driving the car, and making necessary adjustments, you can ensure that your handmade cardboard creation is ready for hours of imaginative play. Remember to have fun and enjoy the process of building and testing your very own unique cardboard car!
Additional Tips
When it comes to building your own cardboard car, there are a few additional tips that can make the process smoother and more enjoyable. Let’s delve into some helpful suggestions to take your project to the next level.
Reinforcing Weak Areas
One common issue when crafting a cardboard car is dealing with weak spots that may not hold up well during playtime. To reinforce these areas, consider using extra layers of cardboard or adding additional tape for support. By strengthening these weak points, you can ensure that your car remains sturdy and durable for longer periods of time.
Using Recycled Materials
As you work on your cardboard car project, don’t forget to consider the environmental impact of your materials. Using recycled cardboard is not only eco-friendly but can also add a unique touch to your creation. Look for old boxes or packaging materials that you can repurpose into new components for your car. Not only will this help reduce waste, but it can also spark creativity and resourcefulness in your design process.
Having Fun!
Above all, remember to have fun throughout the process of building your cardboard car. This project is a wonderful opportunity to unleash your creativity and imagination, so don’t be afraid to think outside the box (pun intended!). Whether you’re sketching out designs, painting intricate details, or test-driving your finished creation, embrace the joy and excitement that comes with bringing your vision to life.
In conclusion, these additional tips can enhance your cardboard car-building experience and result in a truly unique and personalized creation. By reinforcing weak areas, using recycled materials, and prioritizing fun, you can make the most of this DIY project and enjoy the process every step of the way. So grab your cardboard, scissors, and paint, and get ready to craft a one-of-a-kind car that showcases your skills and creativity. Remember, the possibilities are endless when you let your imagination run wild!