Follow our step-by-step guide on how to fit a tyre to a rim. From preparing the to inflating the tyre and final checks, ensure a smooth installation process for your vehicle.
Preparing the Rim
Cleaning the Rim Surface
When it comes to preparing the rim for mounting a new tire, one of the first steps you’ll want to take is cleaning the rim surface. This might seem like a simple task, but it’s crucial for ensuring a proper seal between the tire and the rim. Start by removing any dirt, grime, or old tire residue from the rim using a mild detergent or a specialized rim cleaner. Make sure to thoroughly rinse the rim with water and dry it completely before moving on to the next step.
Checking for Damage
After you’ve cleaned the rim surface, it’s important to carefully inspect it for any signs of damage. Look for cracks, dents, or bends that could affect the tire’s performance or safety. Pay close attention to the bead seat area, where the tire will make contact with the . If you notice any damage, it’s best to replace the rim before mounting a new tire to avoid any potential issues down the road.
- Make sure the rim surface is clean and free of debris.
- Inspect the rim carefully for any signs of damage, such as cracks or dents.
- Replace any damaged rims before mounting a new tire for safety reasons.
Mounting the Tyre
When it comes to mounting a tire, there are a few key steps that you need to follow to ensure a smooth and successful process.
Applying Lubricant
One of the first things you’ll need to do is apply lubricant to the rim. This will help the tire slide onto the rim more easily and prevent any unnecessary friction. Make sure to use a generous amount of lubricant to coat the entire surface of the rim.

Using Tire Irons
Next, you’ll need to use tire irons to help guide the tire onto the rim. Tire irons are handy tools that can help you manipulate the tire and ensure it is properly seated on the rim. Start by placing one tire iron between the tire bead and the rim, then use another tire iron to pry the tire onto the .
Here are some tips for using tire irons effectively:
* Position the tire irons at equal distances around the rim to ensure even pressure.
* Use a rocking motion to help ease the tire onto the rim.
* Be careful not to pinch the inner tube when using tire irons.
By following these steps and using the right tools, you can successfully mount a tire onto a rim without any hassle. Remember to take your time and double-check that the tire is securely seated on the rim before inflating it.
In the next section, we will discuss the important step of inflating the tire and ensuring it is properly pressurized.
Inflating the Tyre
Checking Tire Pressure
When it comes to inflating your tire, one of the most crucial steps is checking the tire pressure. Proper tire pressure is essential for optimal performance, safety, and fuel efficiency. Without the correct , your vehicle may not handle properly, leading to increased wear and tear on your tires.
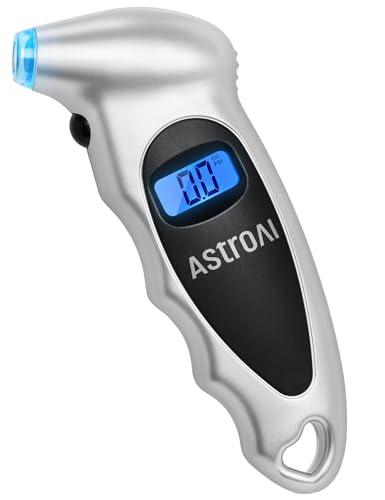
To check the , you will need a tire . This handy tool allows you to measure the air pressure inside your tires accurately. Simply remove the valve cap from the tire, then firmly press the gauge onto the valve stem. The gauge will provide a reading in PSI (pounds per square inch), indicating the current pressure level.
It’s important to note that the recommended tire pressure for your vehicle can typically be found in the owner’s manual or on a sticker located inside the driver’s side door jamb. This information is crucial as different vehicles require different levels for optimal performance.
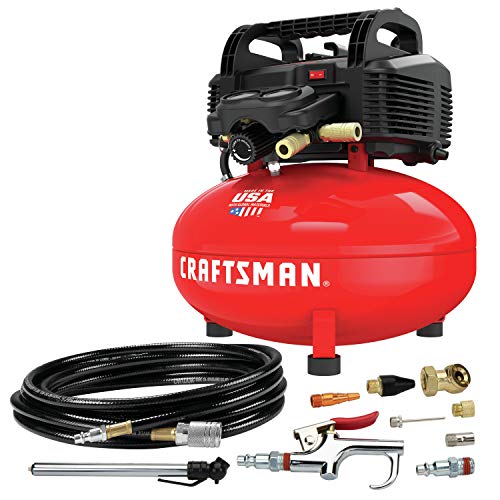
To ensure accuracy, it’s best to check the tire pressure when the tires are cold, as driving can increase the temperature and pressure within the tires. If the pressure is too low, you can use an air compressor to add more air until you reach the recommended PSI. On the other hand, if the pressure is too high, you can release air by pressing the center of the valve stem with a small tool.
Remember, maintaining the correct tire pressure is not only essential for your safety but also for the longevity of your tires. Over or under-inflated tires can lead to uneven wear, reduced traction, and decreased fuel efficiency.
Using a Pressure Gauge
A tire is a simple yet essential tool for any vehicle owner. It allows you to accurately measure the air pressure inside your tires, ensuring they are properly inflated for optimal performance.

There are several types of gauges available, including digital, dial, and stick gauges. Digital gauges provide a precise reading in PSI, while dial gauges have a needle that points to the pressure level. Stick gauges are the most basic, with a simple sliding scale for measurement.
To use a , start by removing the valve cap from the tire. Firmly press the gauge onto the valve stem until you hear a hissing sound, indicating that the pressure is being measured. The gauge will then display the current pressure level, allowing you to compare it to the recommended PSI for your vehicle.
It’s essential to regularly check your , as fluctuations can occur due to changes in temperature, driving conditions, or tire damage. By using a , you can ensure that your tires are properly inflated, promoting safety, handling, and fuel efficiency.
Final Steps
Balancing the Wheel
When it comes to the final steps of mounting a tire, balancing the wheel is crucial for ensuring a smooth and safe ride. Balancing the wheel involves making sure that the weight of the tire and wheel assembly is evenly distributed around the axle. This helps to prevent vibrations and uneven wear on the tire, which can lead to a bumpy or noisy ride.
To balance the wheel, a technician will use a special machine that spins the wheel and tire assembly to determine where any imbalances may be. Once the imbalances are identified, small weights are added to the wheel to counteract them. This process ensures that the wheel rotates evenly and smoothly, providing a comfortable driving experience.
Checking for Leaks
After the tire is mounted and balanced, it’s important to check for any leaks that may occur. Even a small leak can lead to a loss of over time, affecting the handling and safety of the vehicle. Checking for leaks involves visually inspecting the tire for any signs of damage or punctures, as well as using a soapy water solution to identify any air bubbles that may indicate a leak.
If a leak is detected, it’s important to address it promptly by repairing the puncture or replacing the tire if necessary. Ignoring a leak can lead to a flat tire or even a blowout while driving, posing a serious safety risk. By thoroughly checking for leaks and addressing any issues promptly, you can ensure that your tire is in optimal condition for the road ahead.
In conclusion, balancing the wheel and checking for leaks are essential final steps in the tire mounting process. By paying attention to these details, you can ensure that your tire performs optimally and safely on the road. Remember to regularly inspect your tires for any signs of imbalance or leaks to maintain a smooth and safe driving experience.
- Ensure wheel weight is evenly distributed
- Check for leaks using a soapy water solution
- Address any leaks promptly to prevent flat tires or blowouts